Ultimate Gridfinity Razor Blade Disposal Bin
Assembly instructions
Features
One Piece Design
Even though there are technically 2 prints here, we will use the power of our printer to fuse them into one. This eliminates a lid or any snap-together parts that might accidentally open up and spill out all of the old blades
Blade Retention
There is internal geometry to keep the old places from falling out as they are tossed around.
Multicolor Printing
Even if your printer does not support multicolor printing, we can use the slicer to add a color change to print the text in another color, so it stands out
Custom Text
A blank top is provided so that you can add whatever text you want in your slider
Where to get the files
https://www.printables.com/model/1606607-ultimate-gridfinity-razor-blade-disposal-bin
How to Print/Assemble
First of all, let's cut to the chase, we are going to embed a 3D Print into a 3D print. Is that not awesome! Trust me, this will be fun 😎
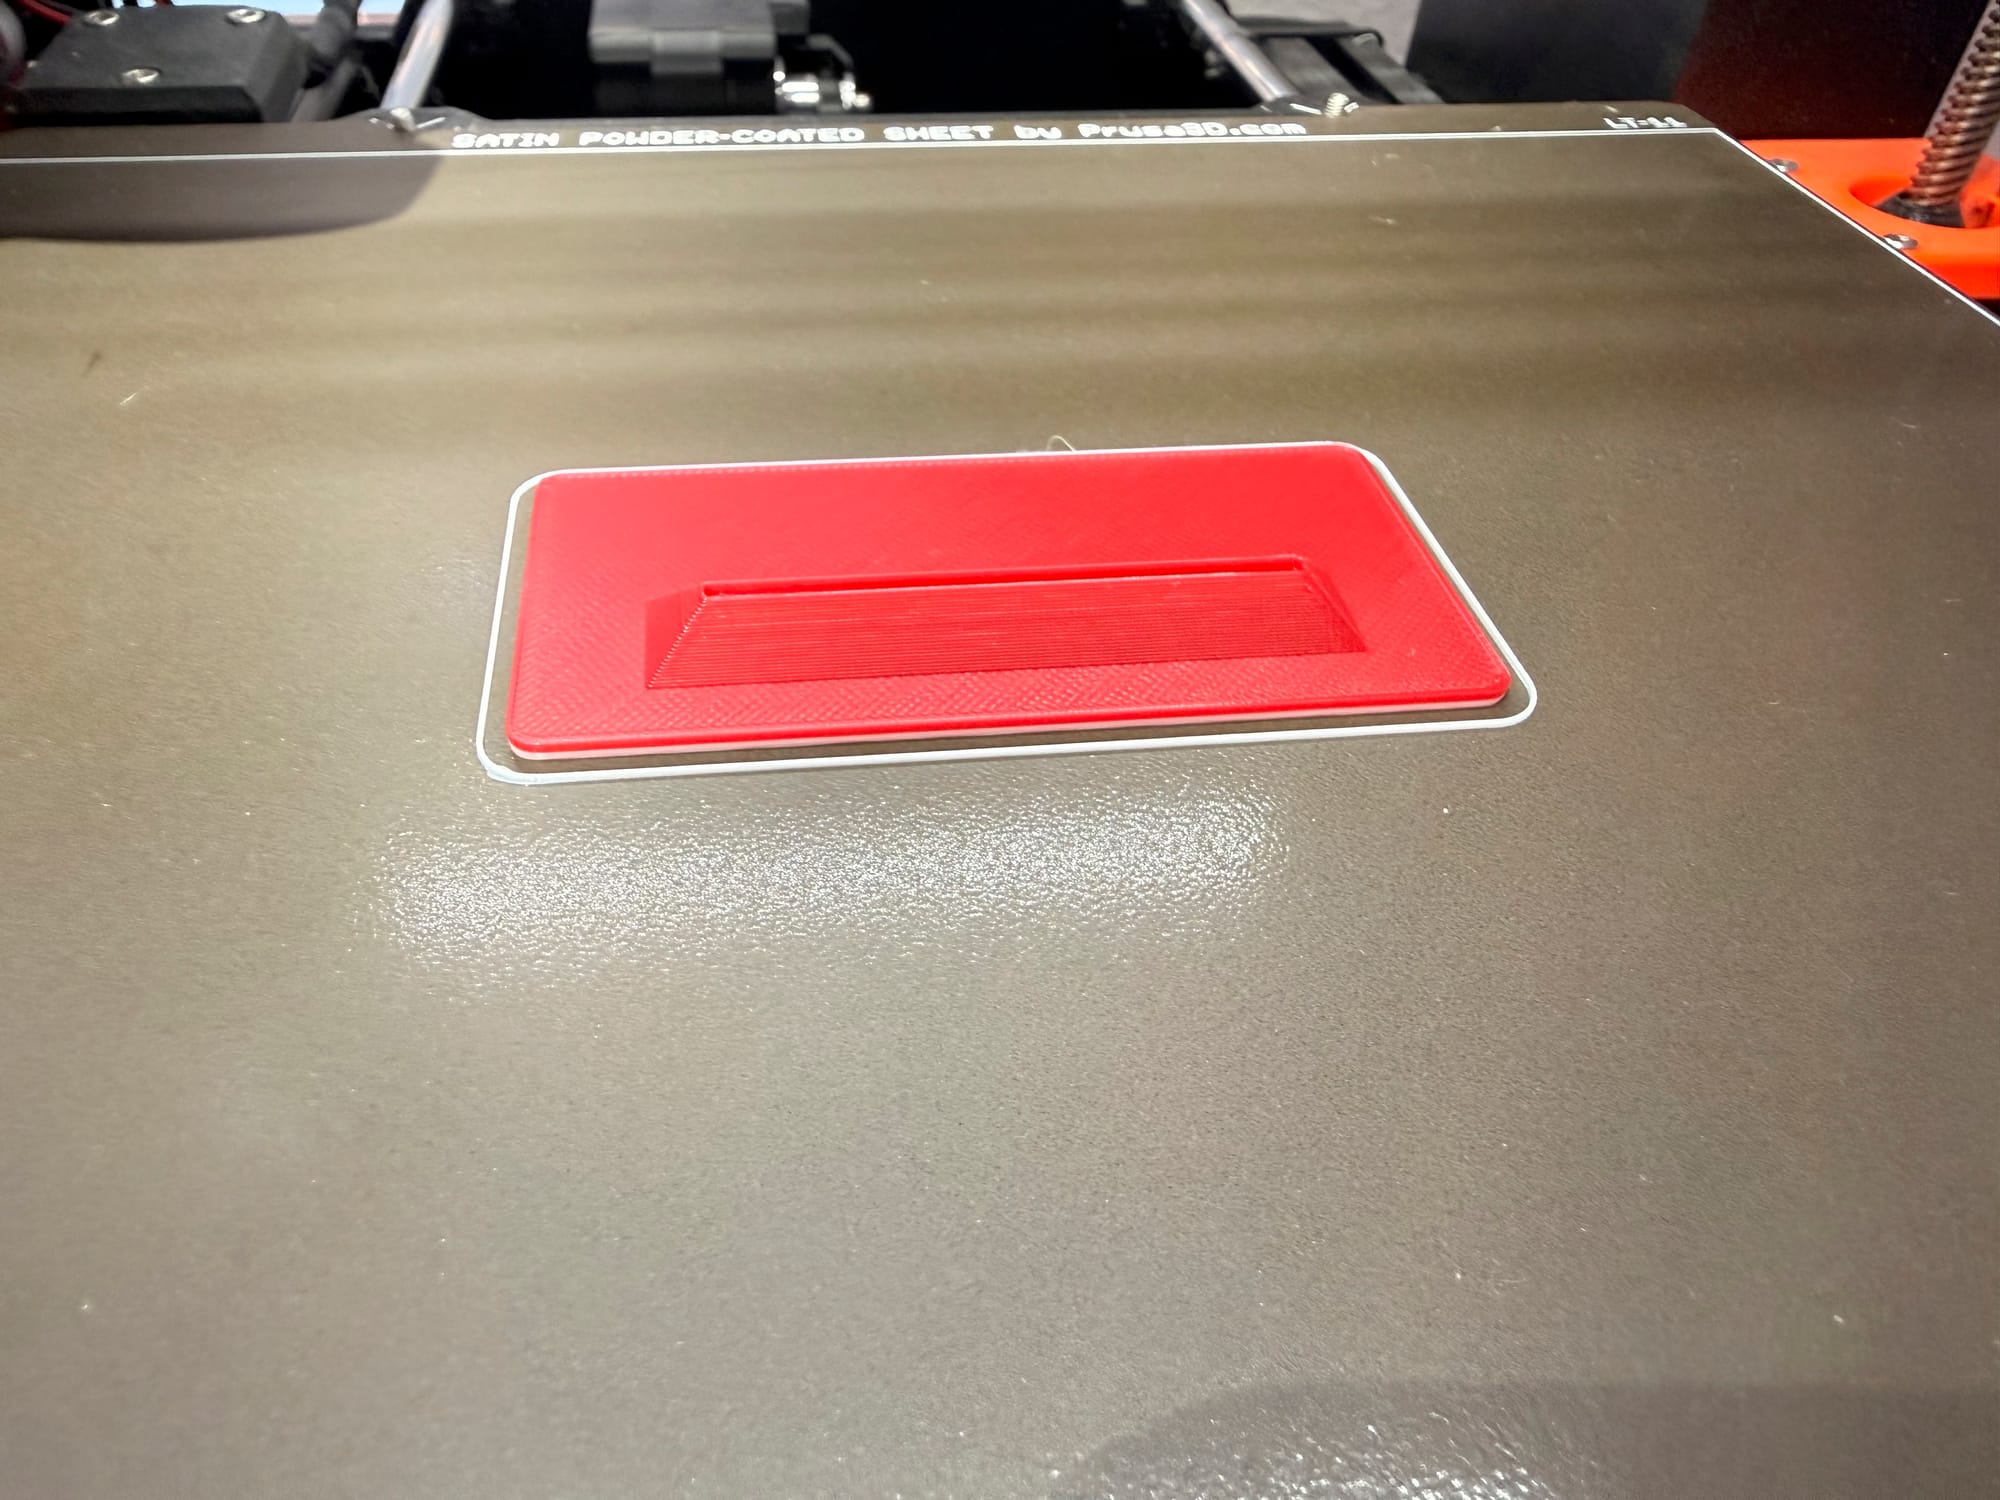
Step 1 - Print the Top
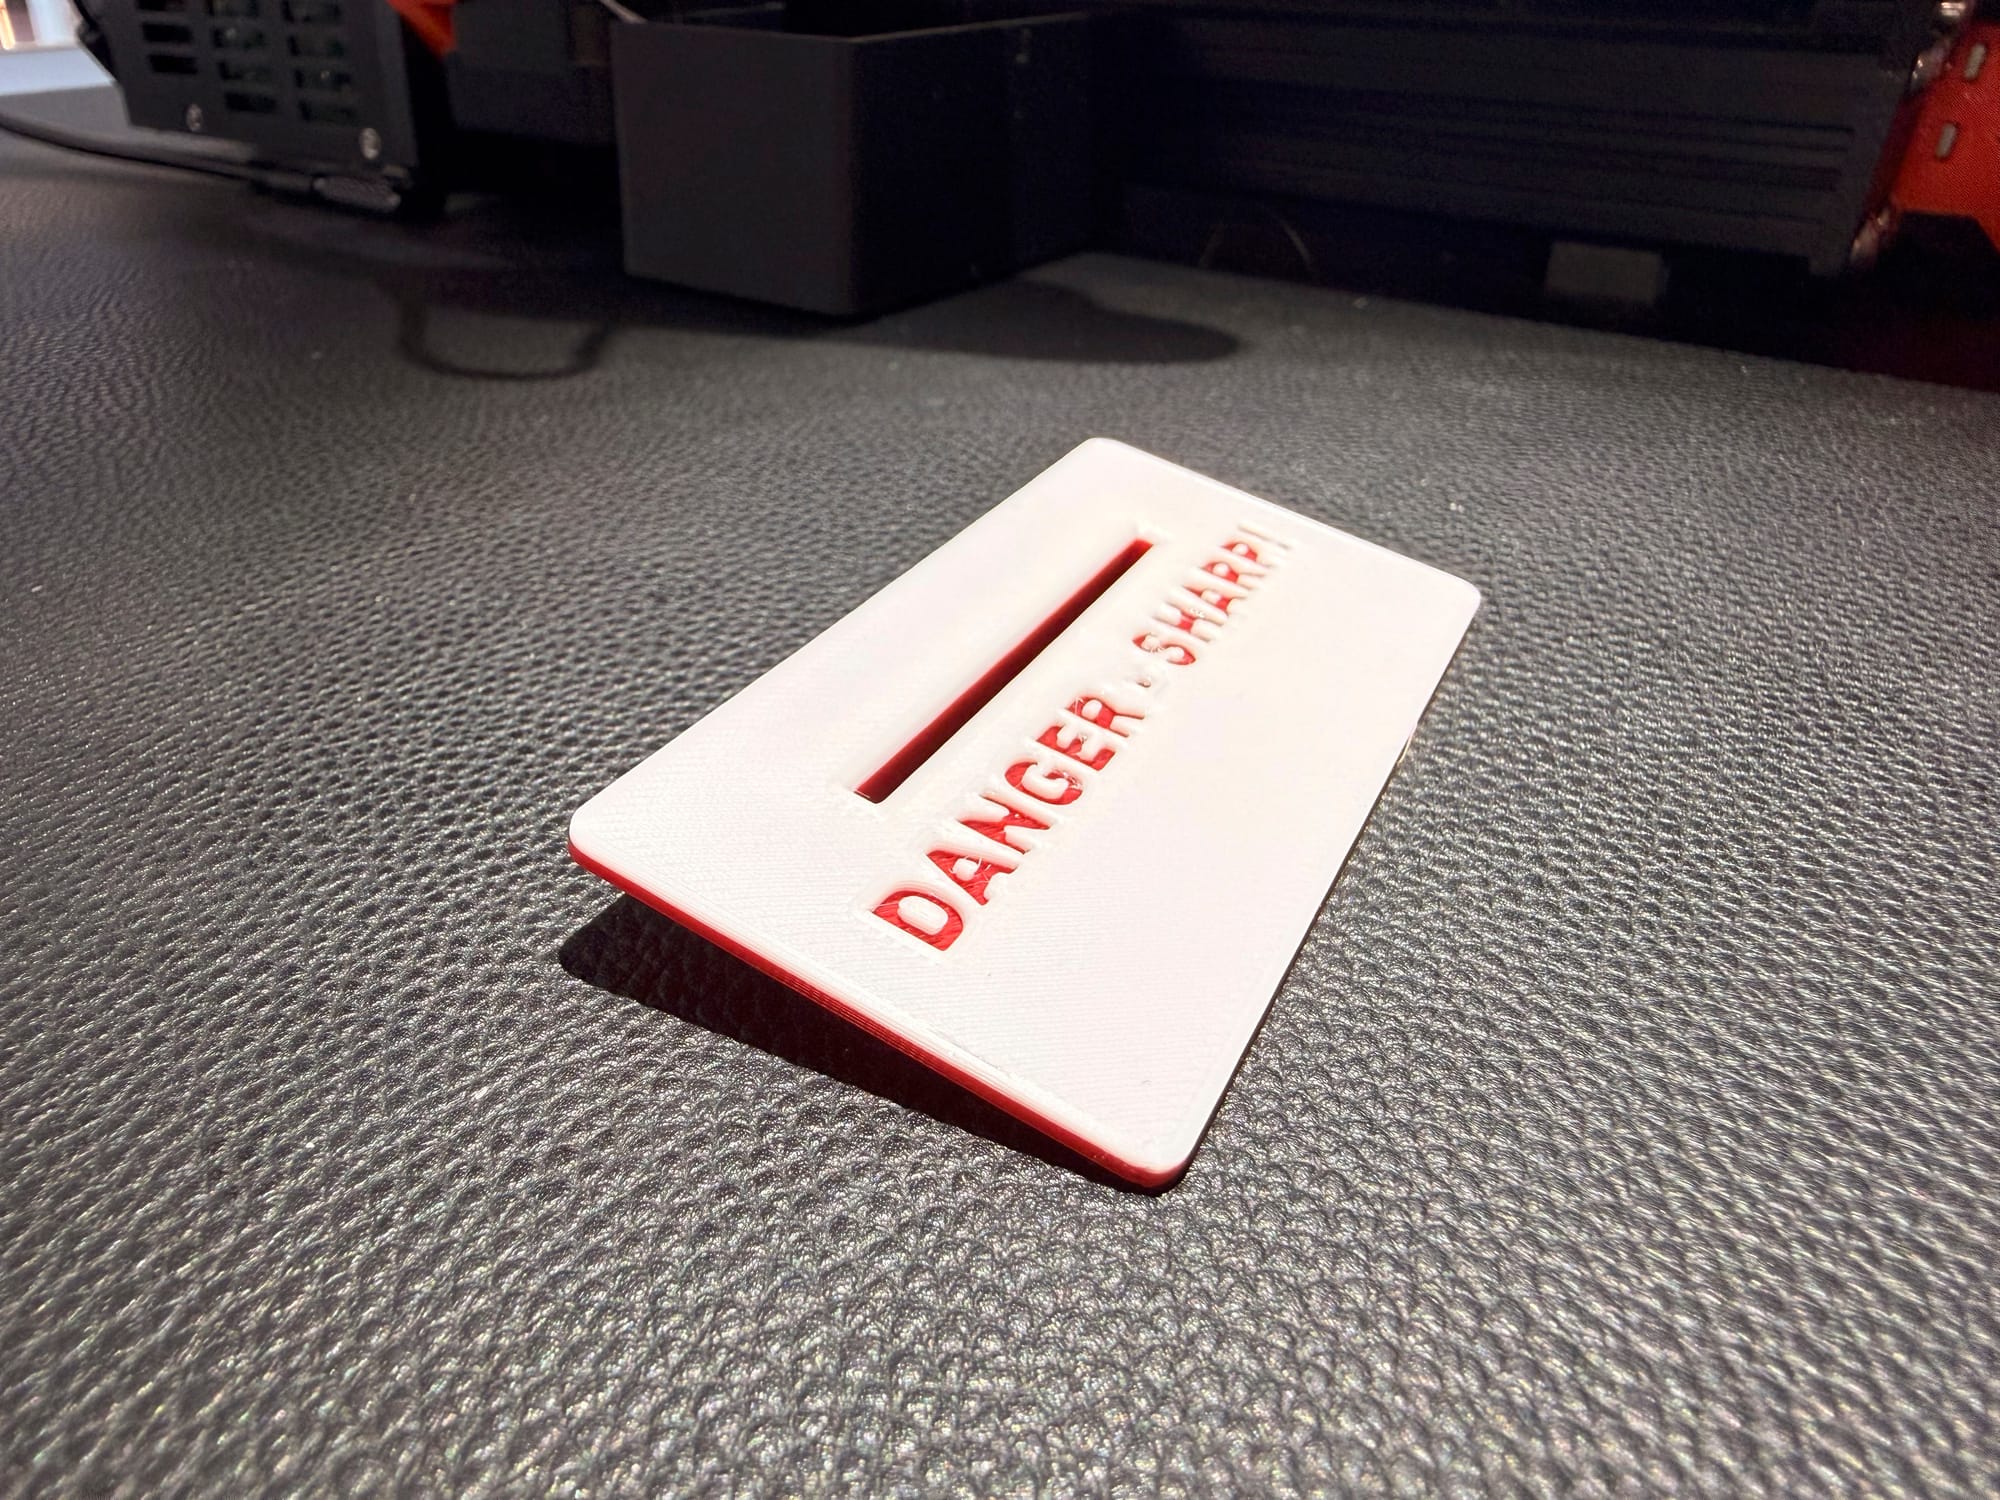
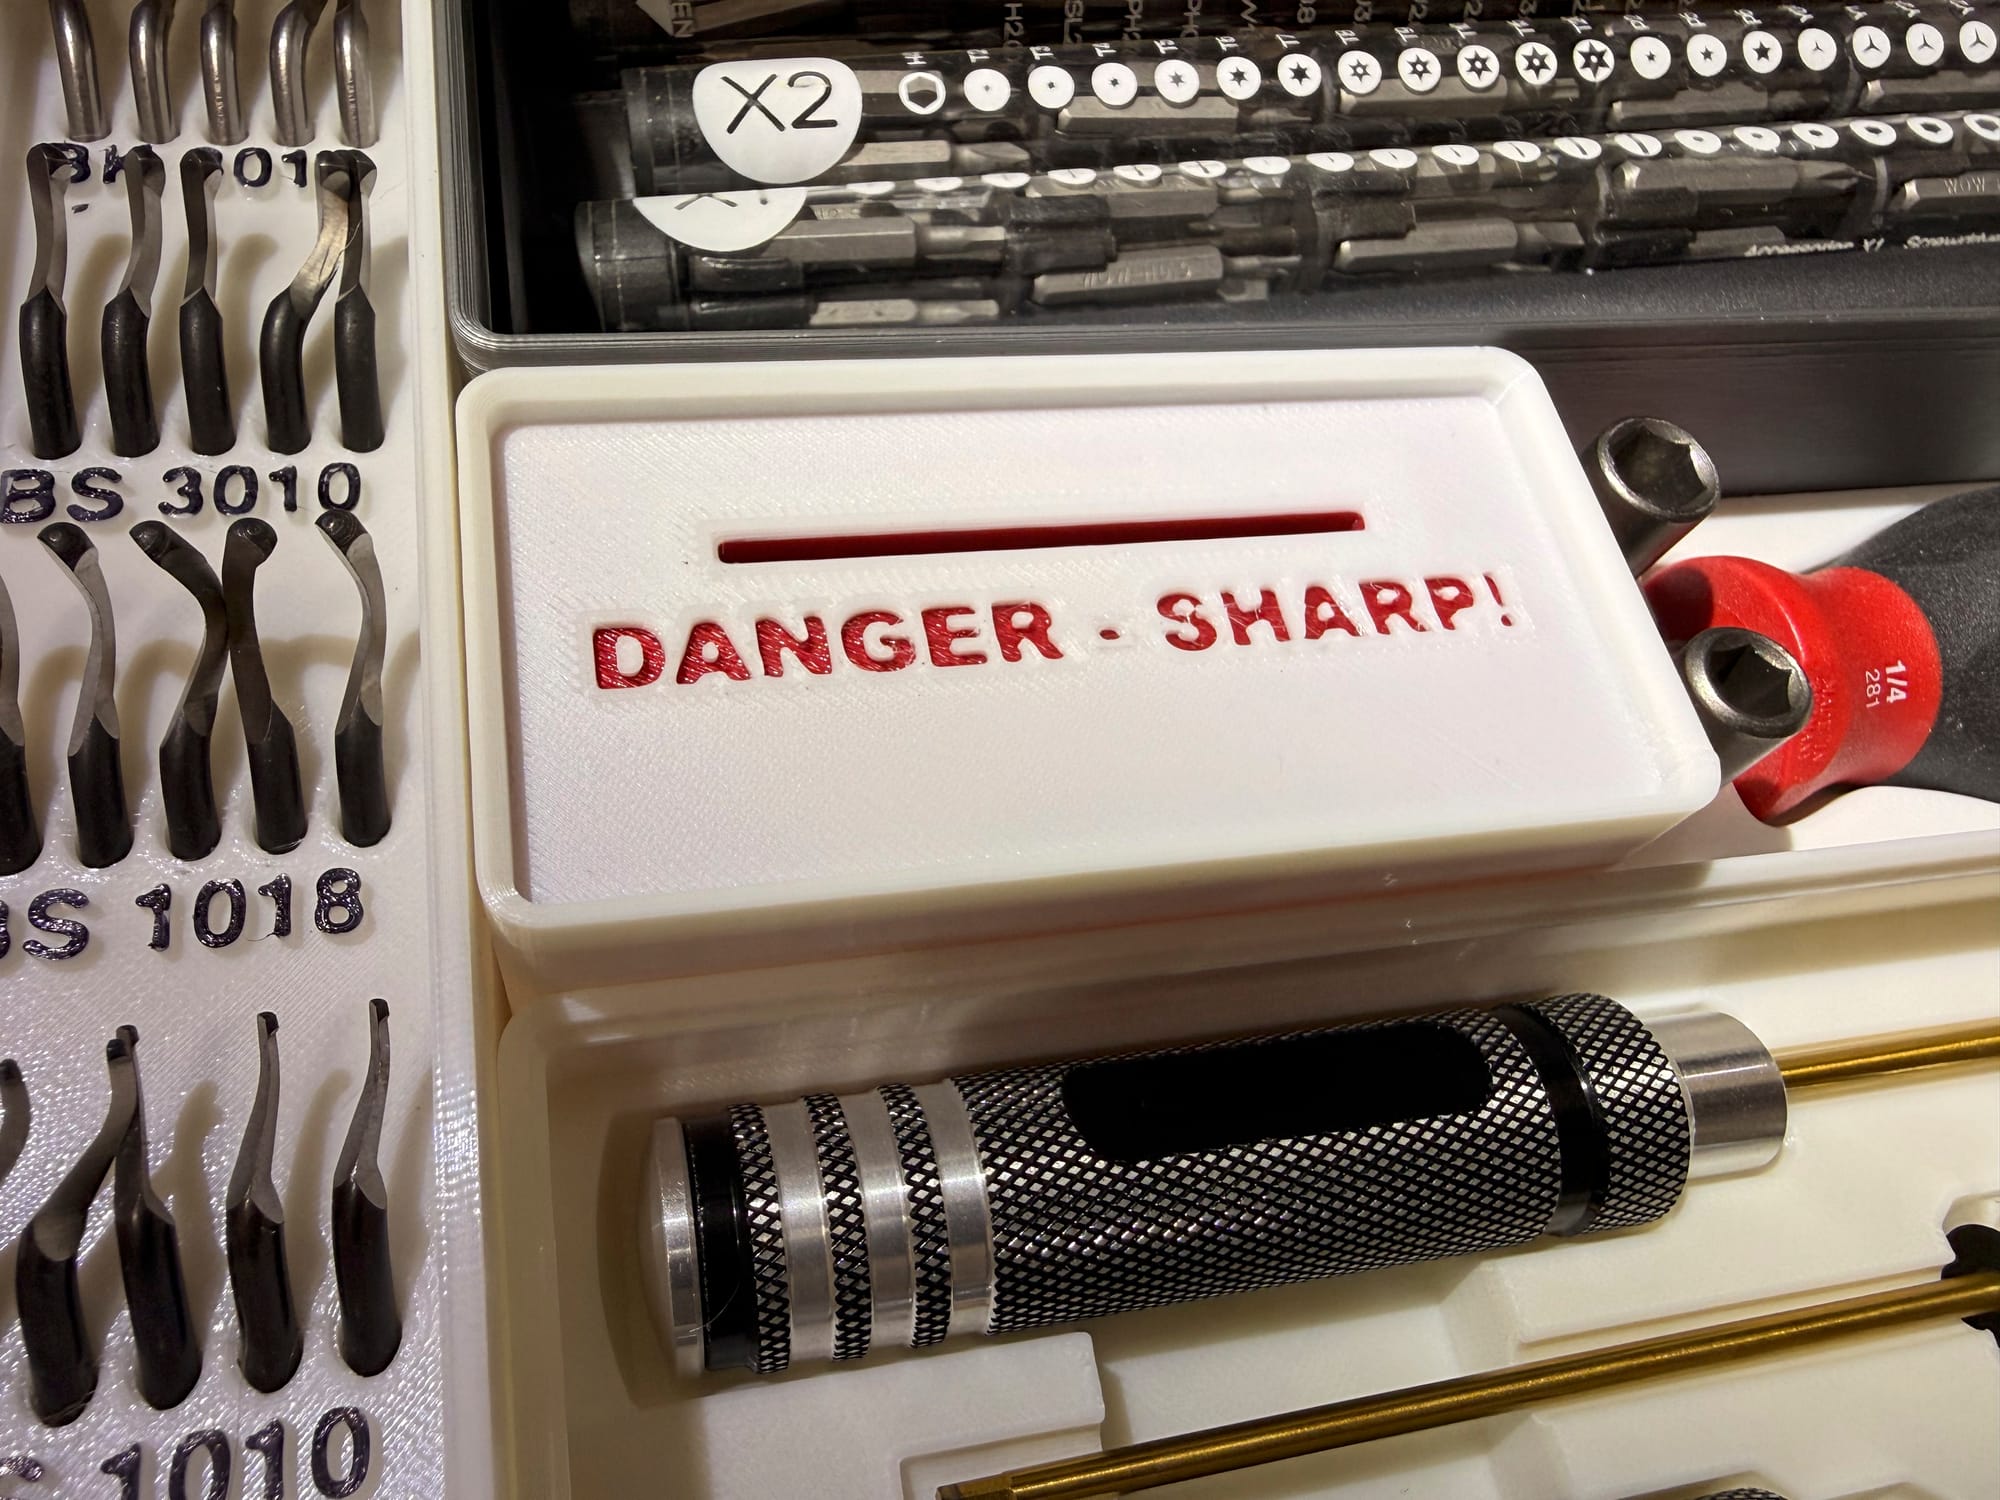
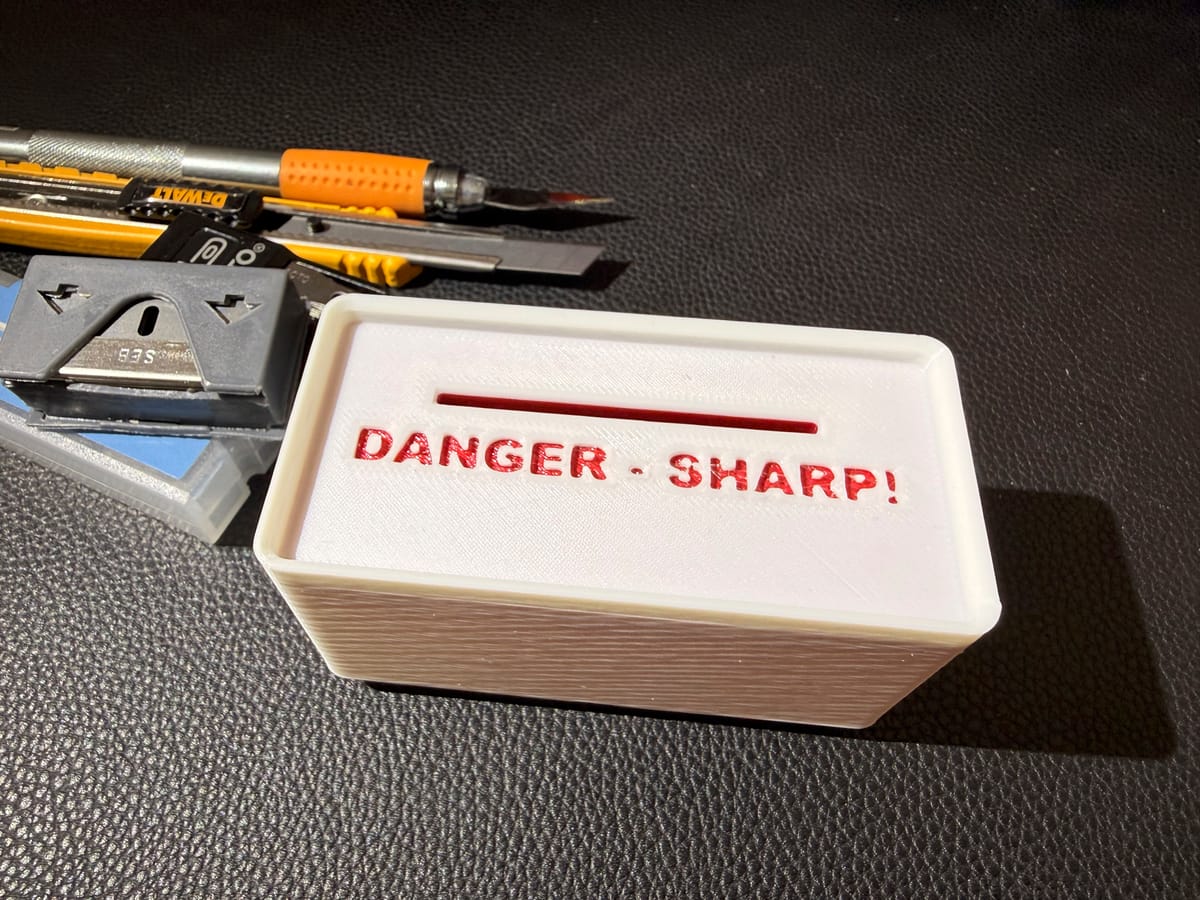
Yup, we are going to start with the top. So open up one of the top variants in your slicer. There is one with the words DANGER - SHARP! already cut into the face. Or you can use the blank variant to add your own text, or just leave it blank. Check the video above for instructions
Be sure to place the flat side down, slice it with your desired settings. I chose a 0.2mm with 15% infill, and I'm using PLA. If you want the text to be printed in another color, see the video for instructions on how to add a color change to the gcode from your slicer.
Set the top aside
Step 2 - Print the Body
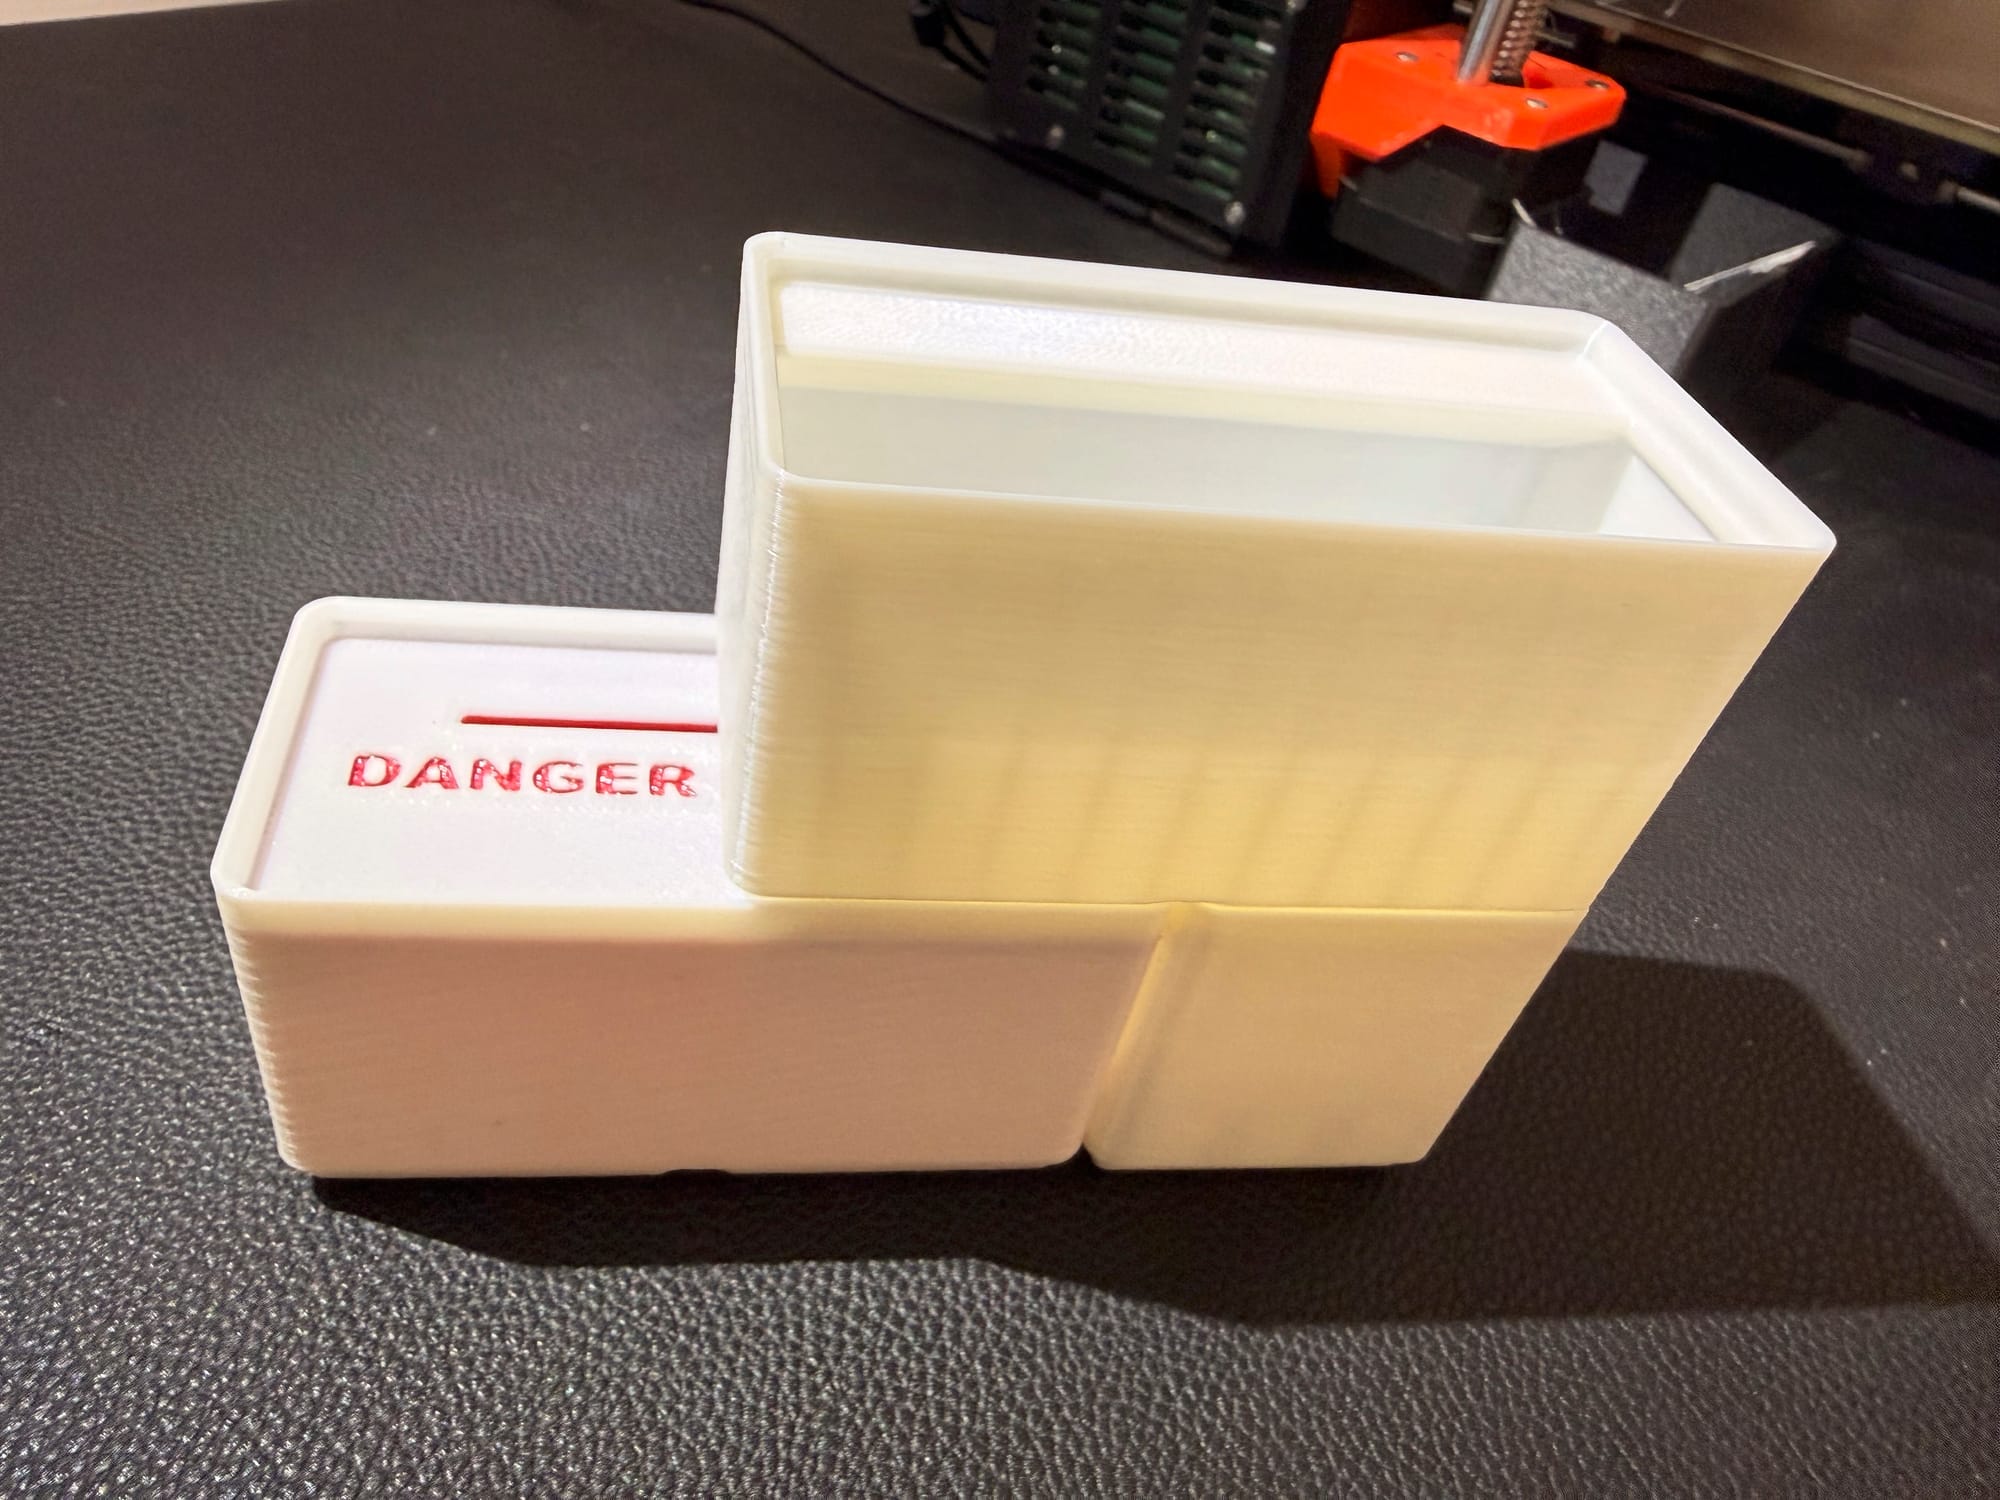
Open the body file in your slicer. Slice it with your desired settings. You will see an overhang toward the top. This is the "top ridge". We will need to add some custom gcode right before this layer prints

Custom Gcode
G1 X10.000 Y200.000 E0; move the printer bed forward
M1; pause
M105; continue
This code effectively gets the print head out of the way so we can drop in our top piece we printed earlier.
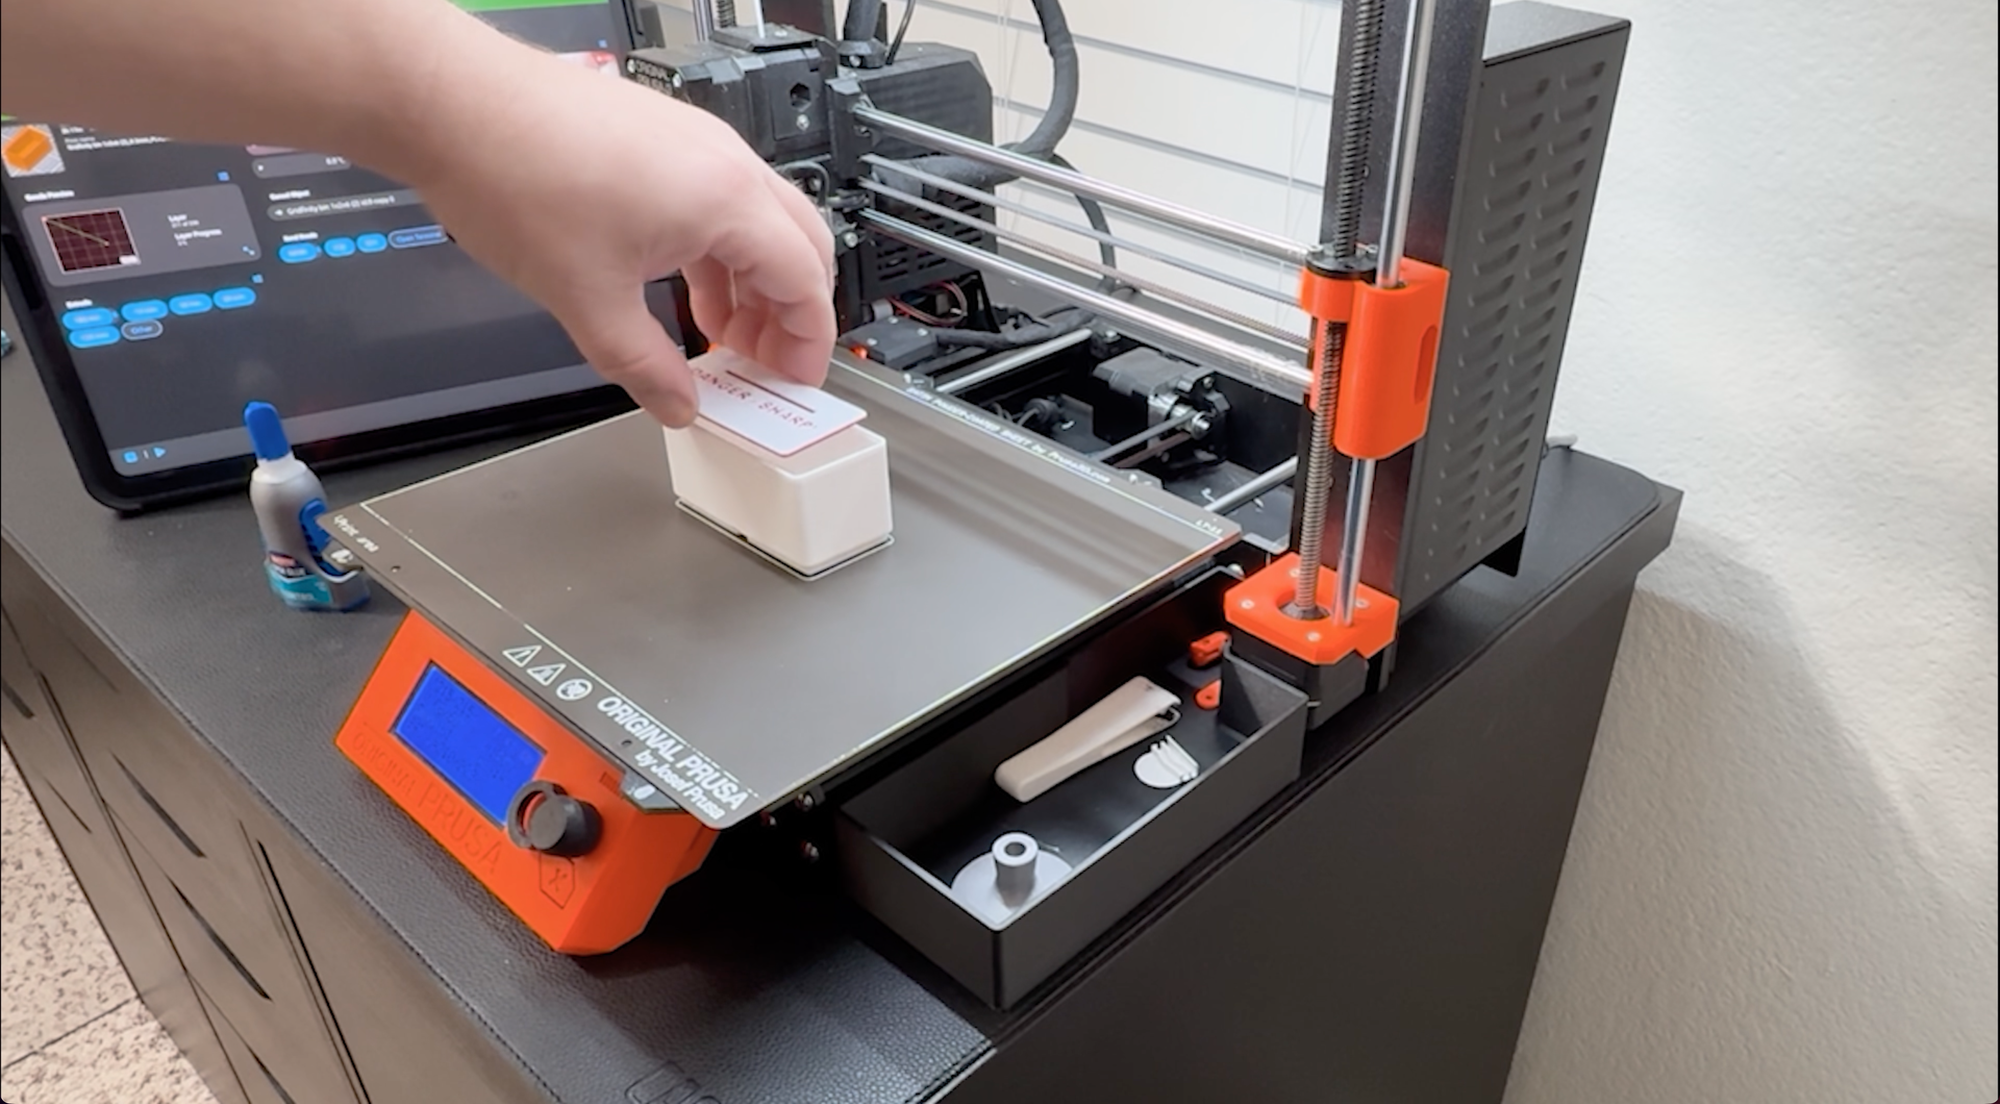
Step 3 - Insert the top and continue printing
Once the printer pauses, insert the previously printed top piece. It should have a night tight fit with a minimal gap.
Continue printing and the top ridge should start to print and fill the thin gap. The plastic should melt into the top, merging the two pieces together as if they were one print.
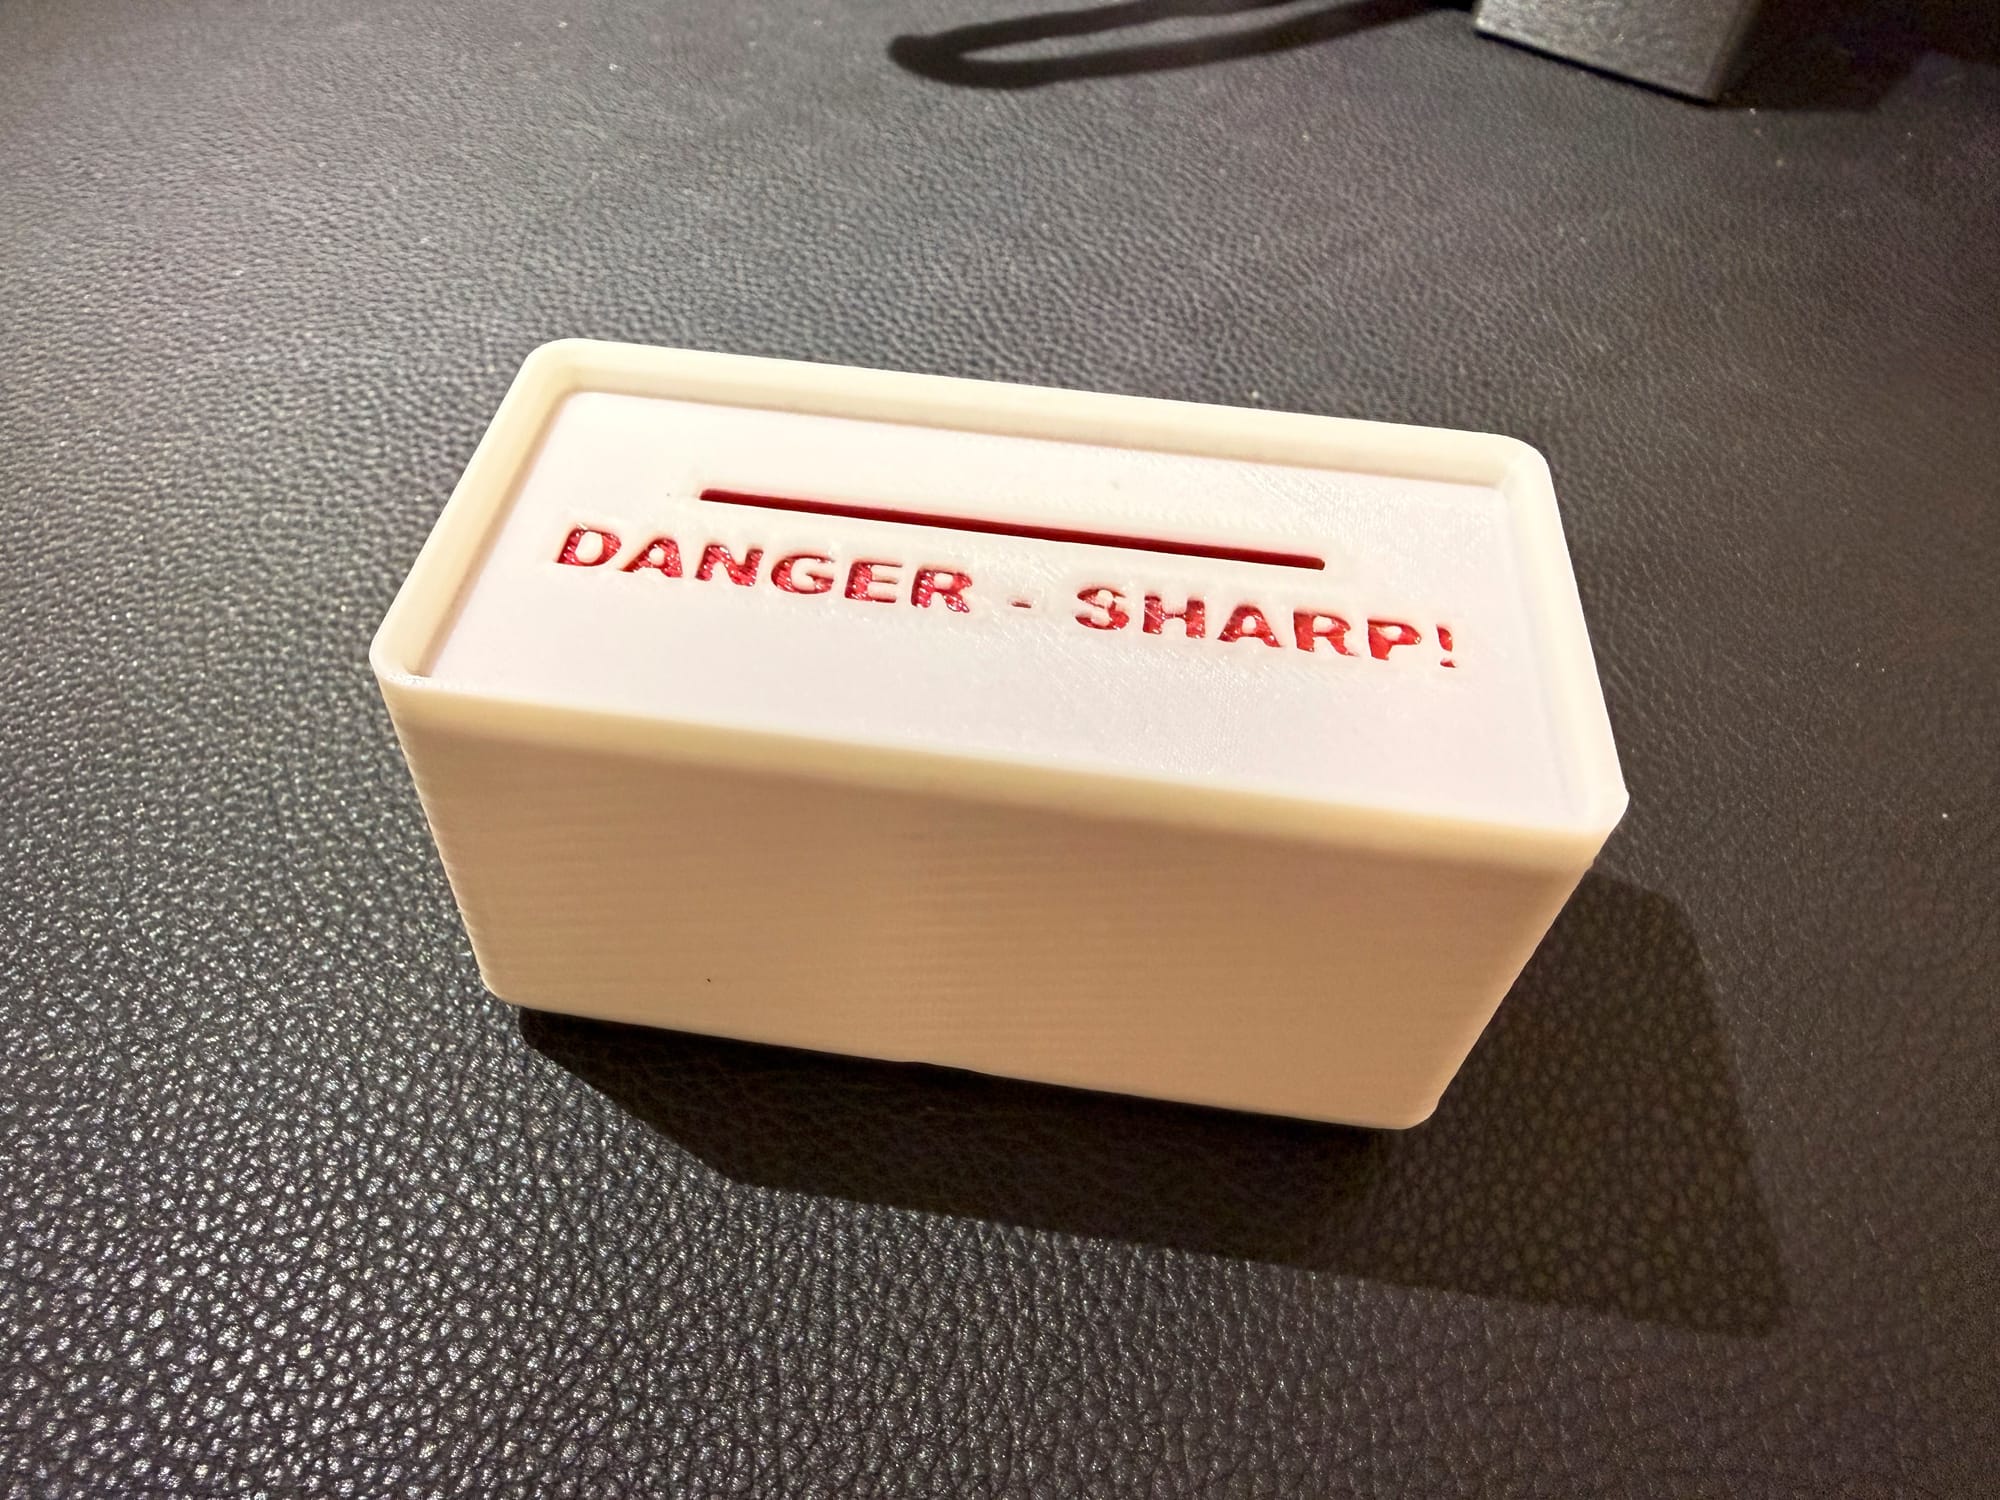
All Done!
I hope you enjoy your print, and please feel free to comment below if you have any questions or would like to make any suggestions.